Edit Email Campaign Content
Editing Campaigns Step 2 - Email Campaign
This is Step 2 of the Editing Campaigns series.
- For SMS campaigns, go to Edit SMS Campaign Content.
- For the previous step, go to Creating and Editing a Campaign.
- For the next step, go to Select Locations.
In this article
Edit Campaign
From the Campaign Details screen, click Next to get to the Edit Campaign screen.
In this step, you will edit the content for the email itself.
Editable Sections
Use the section on the left side of the screen to guide you through the edits you will need to make to your email campaign:
- View options:
- Eyeglass icon: Standard email preview. This is the default view.
- Pen icon: Highlights all editable sections in the email preview
- Info icon: Highlights all required and unedited fields in the list below
- Desktop view: Shows you the email as it will appear on desktop
- Mobile view: Shows you the email as it will appear on standard mobile phones
- Tablet view: Shows you the email as it will appear on standard tablets

- Editable section list:
- Click on a section (e.g. Hero Image) to begin editing that section. Note that you can also click on the section itself in the email preview.
- If you see the Display toggle next to a module, that module is optional. You can click on the Display toggle to display or hide a module.
- Sections marked with a red star are mandatory fields. They must be edited before you can proceed to the next step.
- Quick Tips:
- Click on a section header (e.g. Main Content) to jump to that section in the campaign.
- Click into an editable section in the campaign to bring up the formatting toolbar or Display toggle for that section.
- If a mandatory section isn't edited and you try to proceed to the next page, an error message will pop up listing the sections that need to be edited. Click on one in the message to jump to the section in the campaign. Make your edits before proceeding.

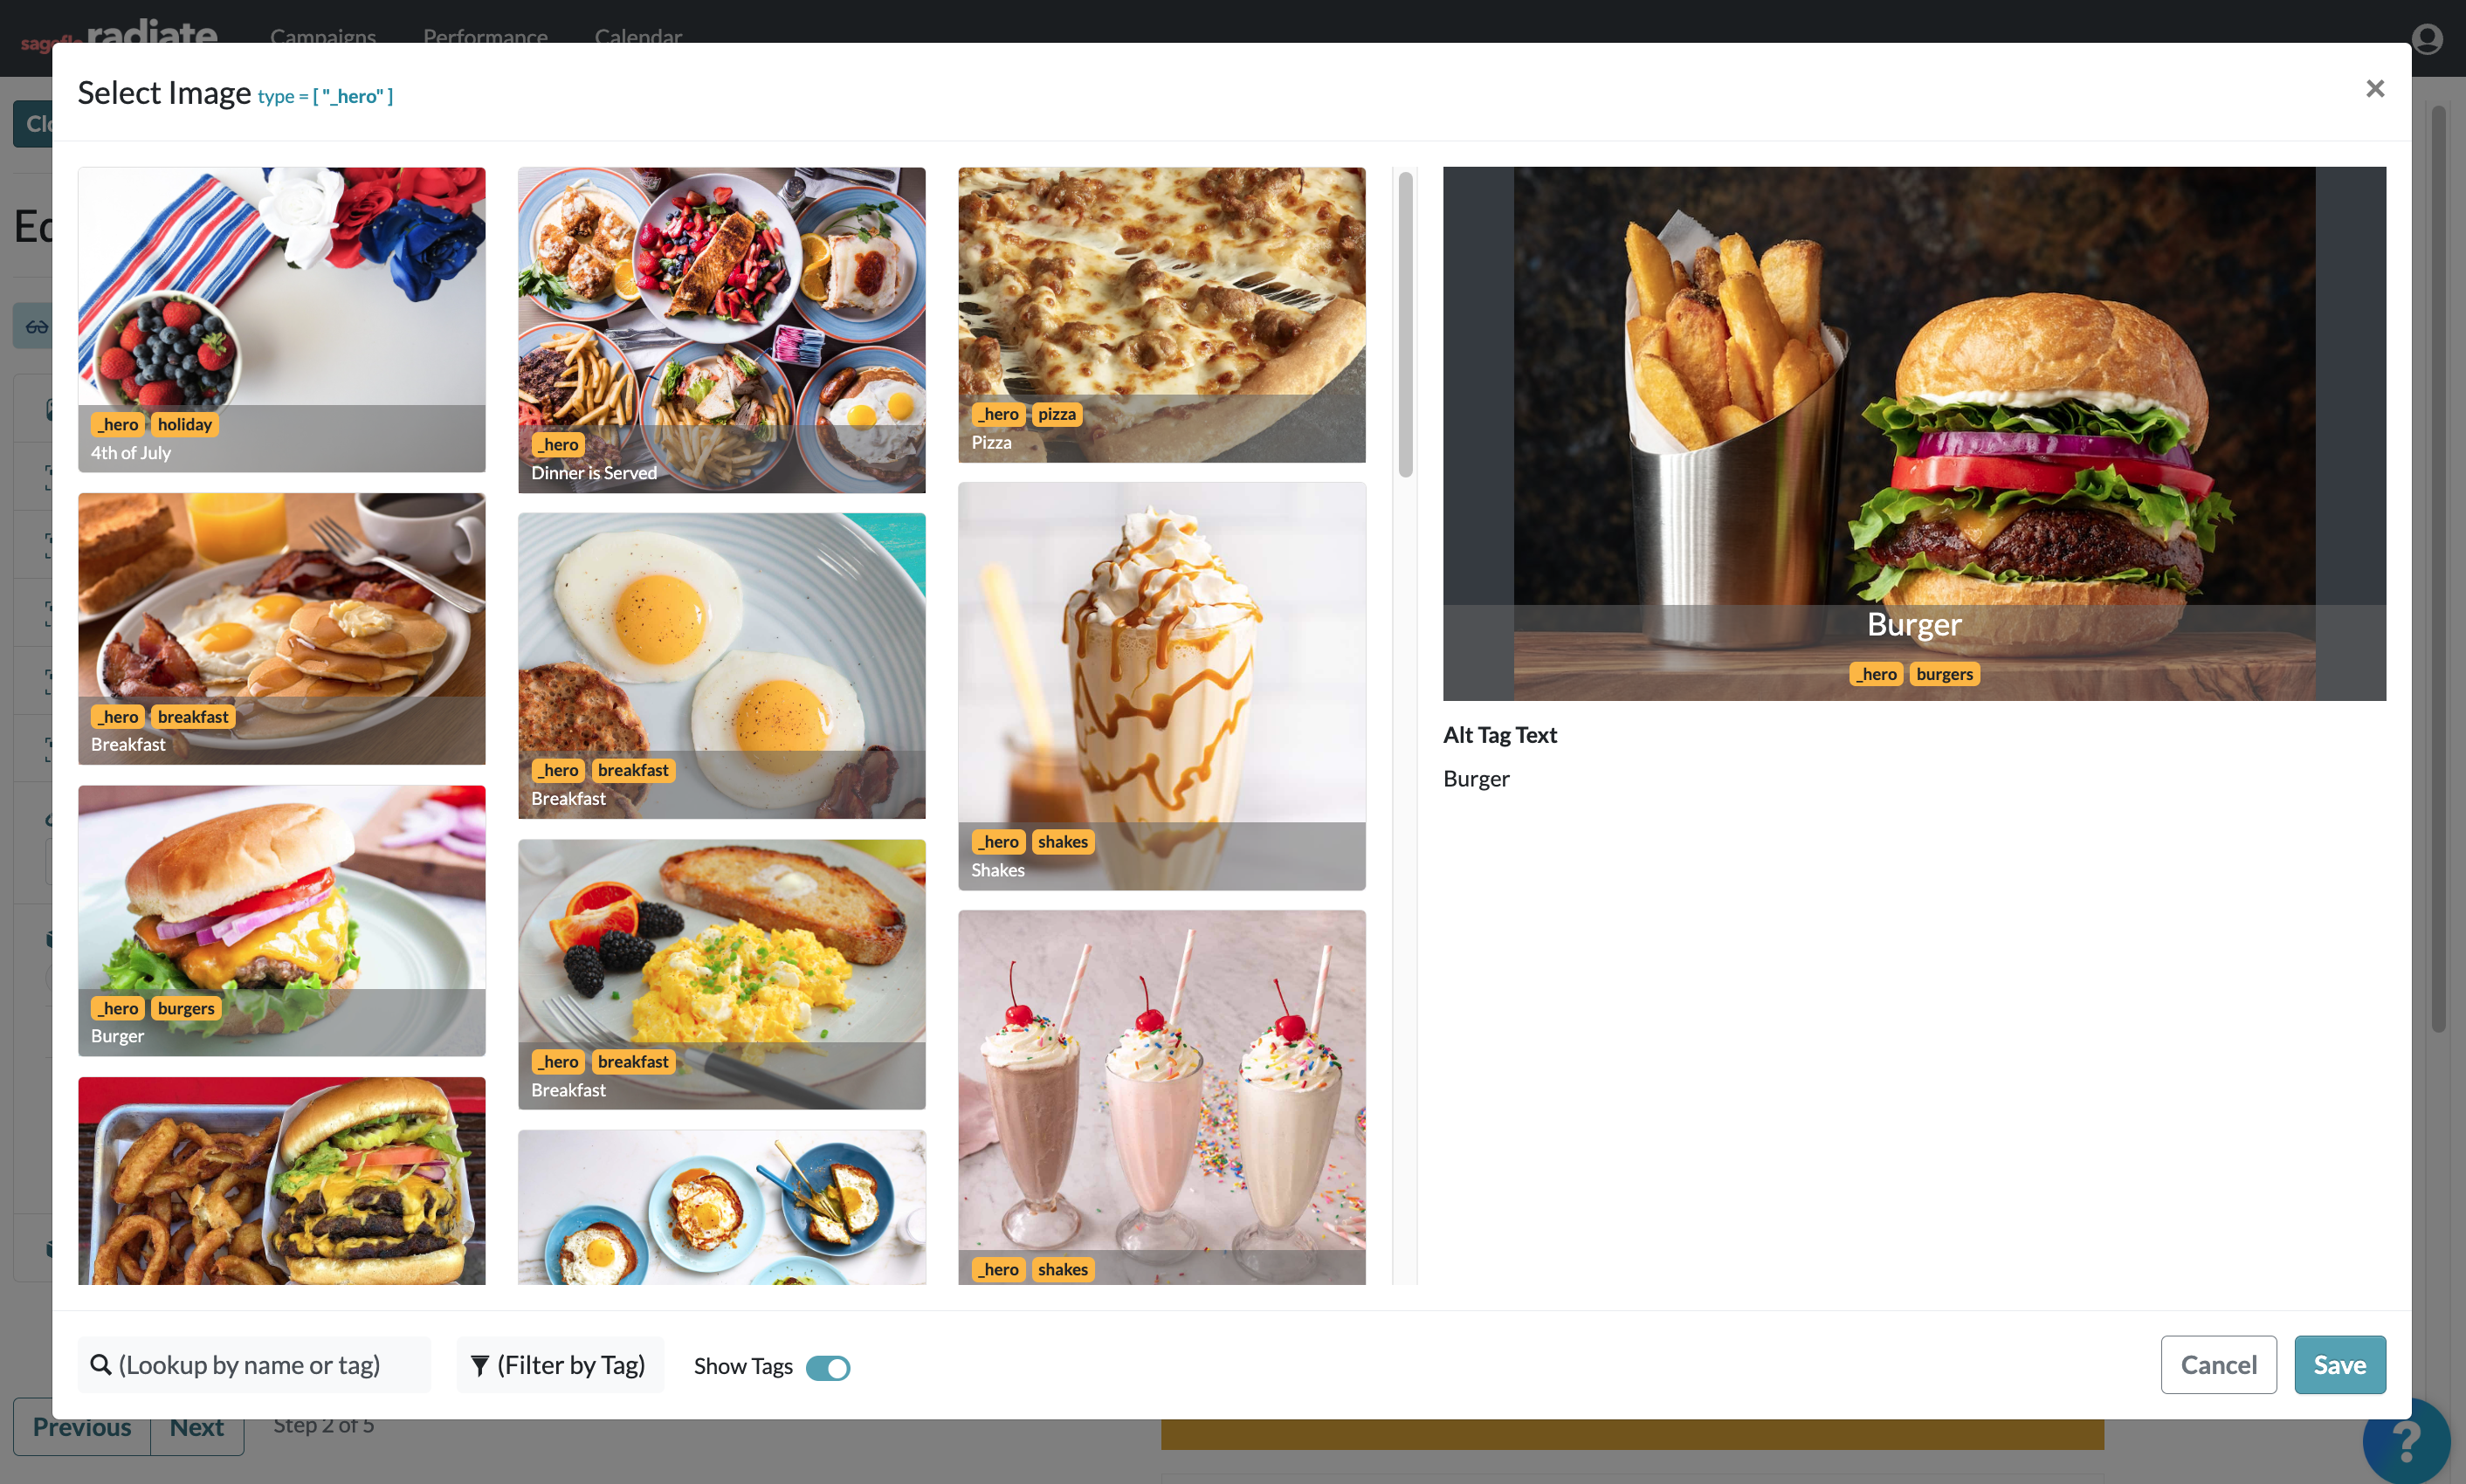
Selecting an Image
When you click on an editable image section, the image library will appear, allowing you to select a new image.
Click on the Filter by Type button at the bottom left corner of the screen to filter the images by tags.
Formatting
Some editable sections such as the Header and Subheader may allow for formatting options. When you click on such an editable section, a formatting bar will appear at the top that will allow you to apply brand-approved formatting options. If you do not see the formatting toolbar, your corporate team has formatting locked for that section.
Formatting available may include:
- Increase or decrease text size
- Bold
- Italicize
- Strikethrough
- Create link (hyperlink)
- Left, center, or right align
- Bulleted list
- Numbered list
- Outdent or indent
- Insert merge tokens
- Font colors

Entering Links
Your template may allow you to include a call-to-action. If this has been enabled for your template, you will see a section called "CTA Link" with a display toggle that allows you to include or hide that module.
If you choose to display the CTA Link:
- Make sure you edit the text for the CTA
- Enter the URL where the link should go

Placeholder Content
Placeholder content highlighted in green must be edited before moving on from the Edit Campaign page.
A campaign can still be saved, but it cannot be proofed or scheduled until placeholder content is edited. You will see an error message if placeholder content has not been updated to ensure that emails are sent with the proper required content.

Uploading Custom Images
Some accounts and templates include custom image modules that allow you to upload your own images directly into a campaign.
Read this article for more information about uploading custom images.
Make sure all required fields have been filled out and you are happy with the email content. Then, click Next.
For the next step, go to Select Locations.