Adding New Groups
Groups are managed by Administrators through the Radiate application. Groups are not synced with an external database, so any changes to Groups must be managed separately in Radiate.
This feature is available for users with the Administrator role.
New Groups will need to be manually added to Radiate. To add a new Group:
- Click on the User Options menu in the top right of the Radiate screen and select Account Settings from the dropdown menu.
- From the Account Settings page, click on the Groups tab.
- Click on the blue Add Group button.
-
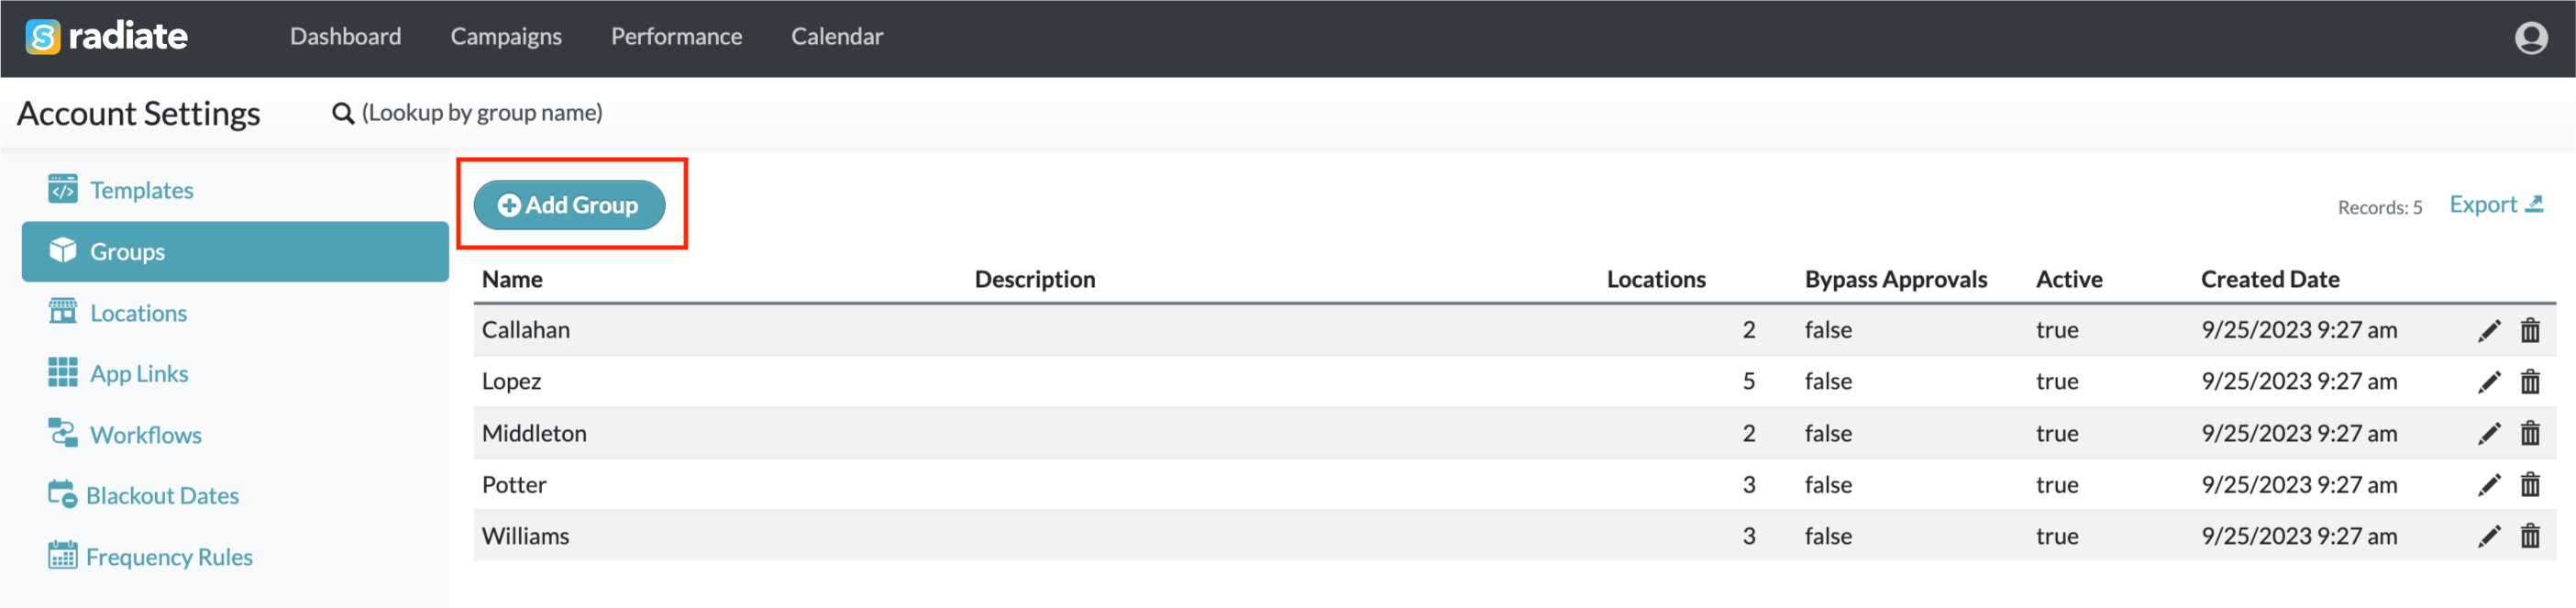
Manage Groups - Add Group Button
-
- The Add Group popup window will open.
-

Manage Groups - Add Group
-
- Type in the Group Name.
- Add a Description.
- This is for Radiate administrative use only and can be used to include helpful information.
- Examples include: Managed by 3 different directors; Primary point person is X.
- Platform Groups refers to the Group name(s) as they may appear in any other data source(s) including your ESP.
- For example, if the Group Name in Radiate is "Group Name" but your ESP lists it as "GroupName", you could enter "GroupName" as the Platform Group so you know how the groups are tied.
- Note that this field is for informational purposes only and will not sync any data based on Group/Platform Group associations. This section may be left blank if there is no alternate Group name or reference required.
- Designate whether the Group can or cannot Bypass Approvals.
- For accounts with the Approvals feature turned on, if there are specific groups that do not need to adhere to the approvals process, you can update individual group settings to bypass approvals. This will allow them to create campaigns, proof, then immediately schedule the campaign without requiring the "Submit" and "Approve" steps.
- Yes: if a group does NOT require approvals
- No (default): Group requires approvals
- For accounts with the Approvals feature turned on, if there are specific groups that do not need to adhere to the approvals process, you can update individual group settings to bypass approvals. This will allow them to create campaigns, proof, then immediately schedule the campaign without requiring the "Submit" and "Approve" steps.
- Designate whether the Group is or is not a Corporate group.
- Designate whether you would like the Group to be Active or not.
- Click on the blue Save Changes button.

