Create Workflows
Administrators can create Workflows to manage the steps for a campaign. Workflows are used to set the process for each of your campaign types.
Once created, you can tie the campaigns you create in the Radiate Marketing Schedule to a Workflow. All the Stages, Steps, and due dates will be automatically populated, making it easy to see what needs to get done, and when.
This feature is available for users with the Administrator role.
In this article
Workflow Manager
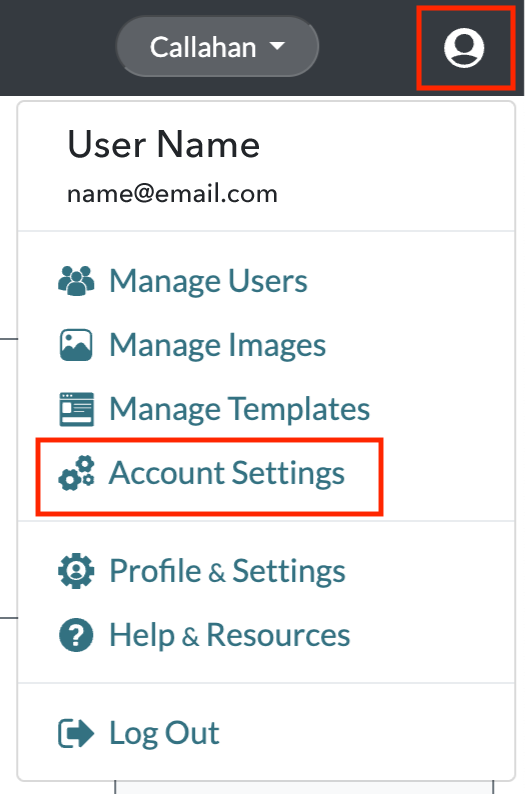
Click on the User Options menu in the top right of the Radiate screen and select Account Settings from the dropdown menu.
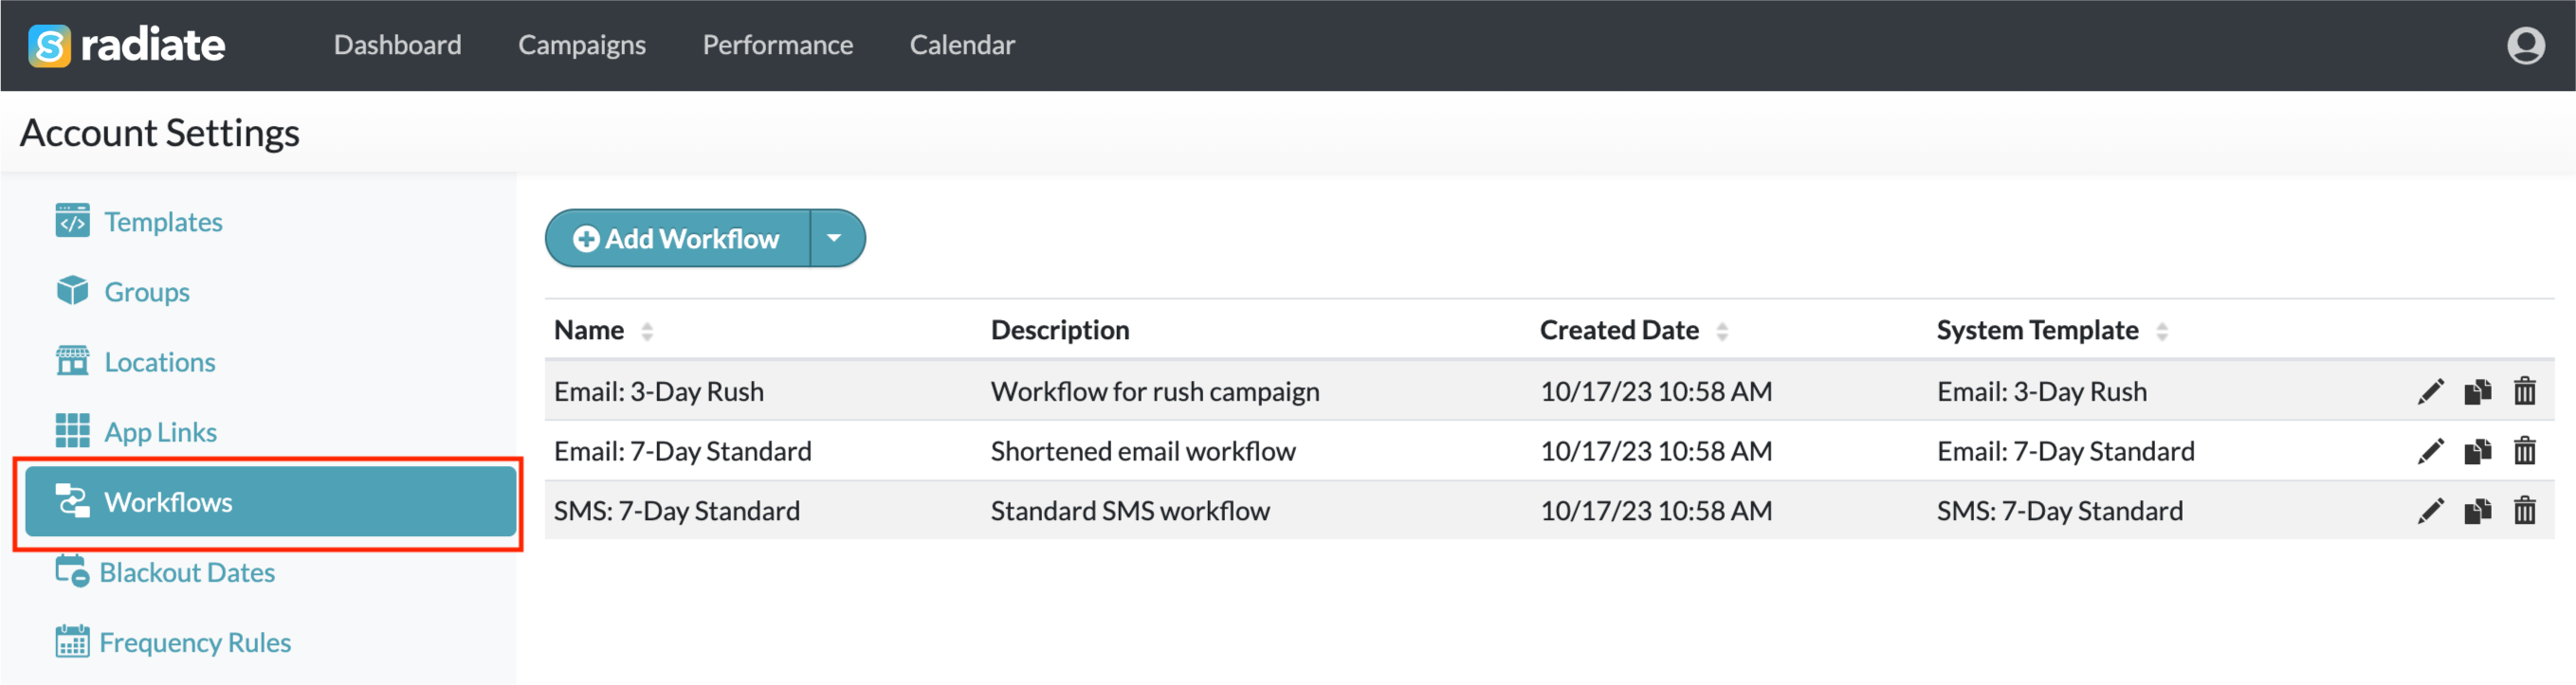
From the Account Settings page, click on the Workflows tab.
Create New Workflow from System Templates
It is easiest to start a new Workflow from an existing Sageflo system template.
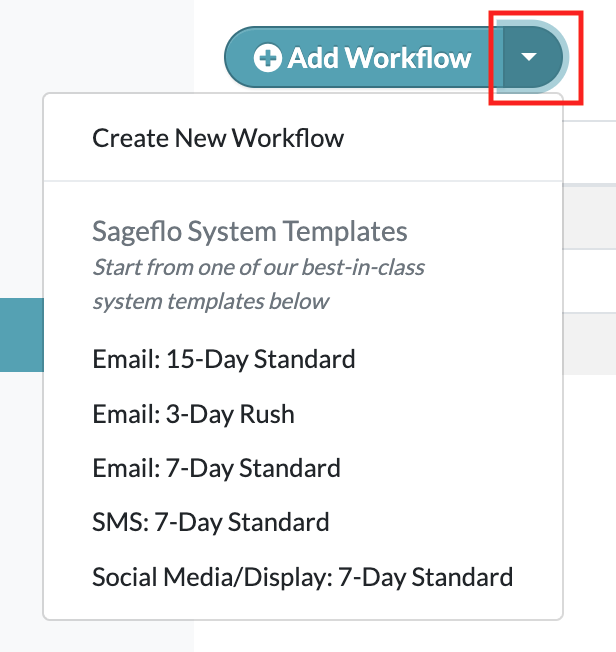
Click on the down arrow to the right of the Add Workflow button and select a template to start from in the dropdown menu.
In the Copy from Template window, make any changes to the Workflow. For an explanation of the Workflow Stages, Steps, and settings, see the next section in this article.
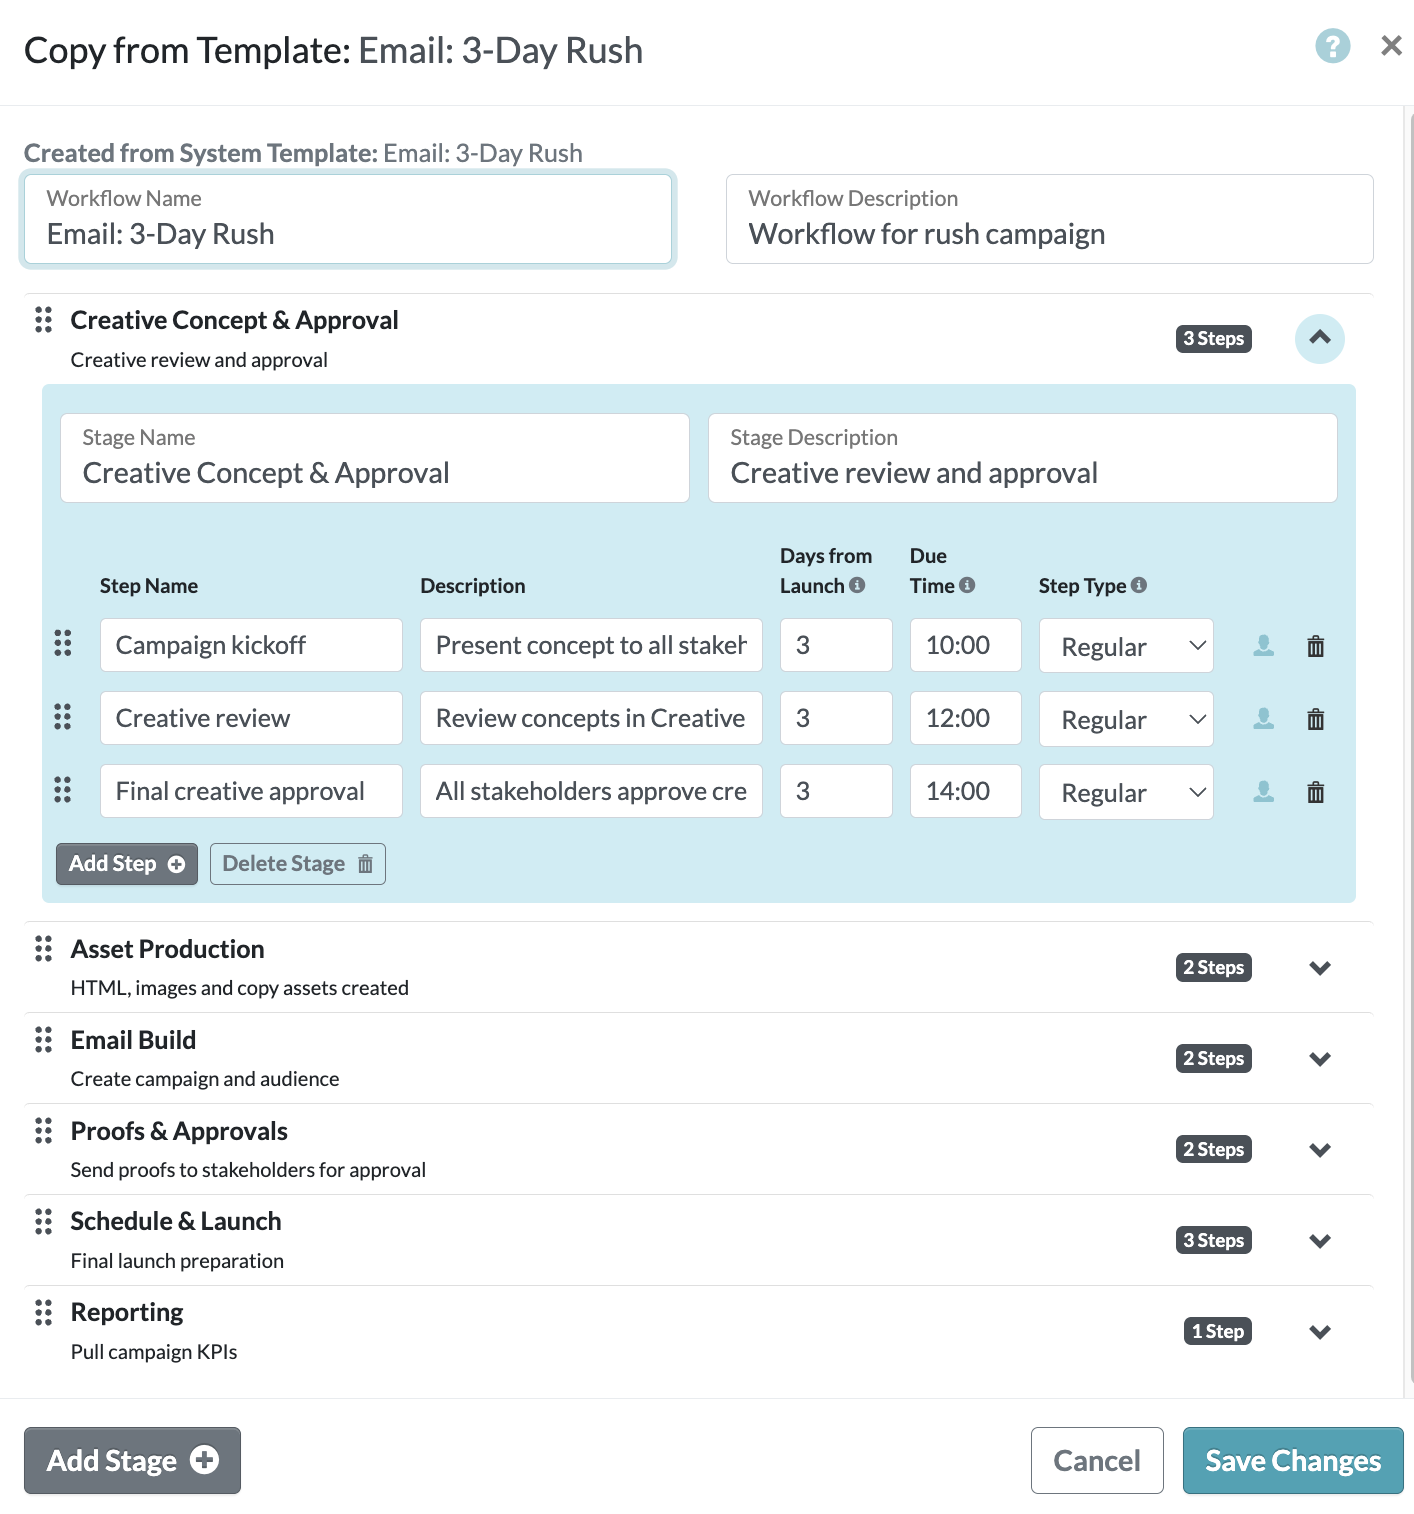
Click Save Changes when all changes have been made.
Create New Workflow from Scratch
Click on the blue Add Workflow button or select Create New Workflow in the template dropdown to start creating a new Workflow from scratch.

In the Create New Template window, update the Workflow Name and Workflow Description.

Next, create the Stages and Steps.
- Stages are the milestones for the project.
- For example: Brief, Creative Concepting, Email Production, Launch, Reporting
- Steps are the individual tasks within each milestone.
- For example: Creative Kickoff, HTML Coding, Build Audience List, Proof Approval
To edit Stages and Steps:
- Drag and drop to reorder
- Use the trash can icon to delete
- Click the Add Step or Add Stage buttons to add more
Edit the due dates and times for each Step and select the step type.
- Days from Launch is the number of business days before or after the first launch step
- 10 for a step that occurs 2 weeks (10 business days) before launch
- 0 for steps that occur on the launch day
- 3 for a step that occurs 3 days after launch
- Due Time is the time of day the step should be completed by. Values should be entered in 24H format.
- For example:
- enter 14:30 to specify 2:30pm
- enter 0:00 to specify 12 midnight
- enter 8:00 to specify 8am
- For example:
- Step Type identifies if the step is a Regular or a Launch step.
- Regular steps are all steps before and after a campaign goes live.
- Choose Launch to specify the date the campaign goes live.
- At least one Launch step must be assigned in each Workflow.
- The first Launch step in your Workflow will be tied to the Launch Date you enter when you create a campaign. The Launch Date is used to automatically calculate due dates for each step.
- Tip: You can specify more than one launch step in a campaign workflow for reminders.
- For example, a campaign launching at 8am with a reminder going out two days later at 3pm.
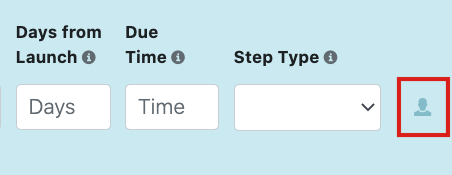
Preassign Users to each Step by clicking on the person icon. When that Workflow is tied to a campaign, all of the preassigned users will automatically be assigned to each of the steps for that campaign.
Click the blue Save Changes button. Once your Workflow is saved, you can select it from the Workflow dropdown when you create a new campaign.
Edit a Workflow
Double-click on an existing Workflow or click on the pen icon to open the Edit window.
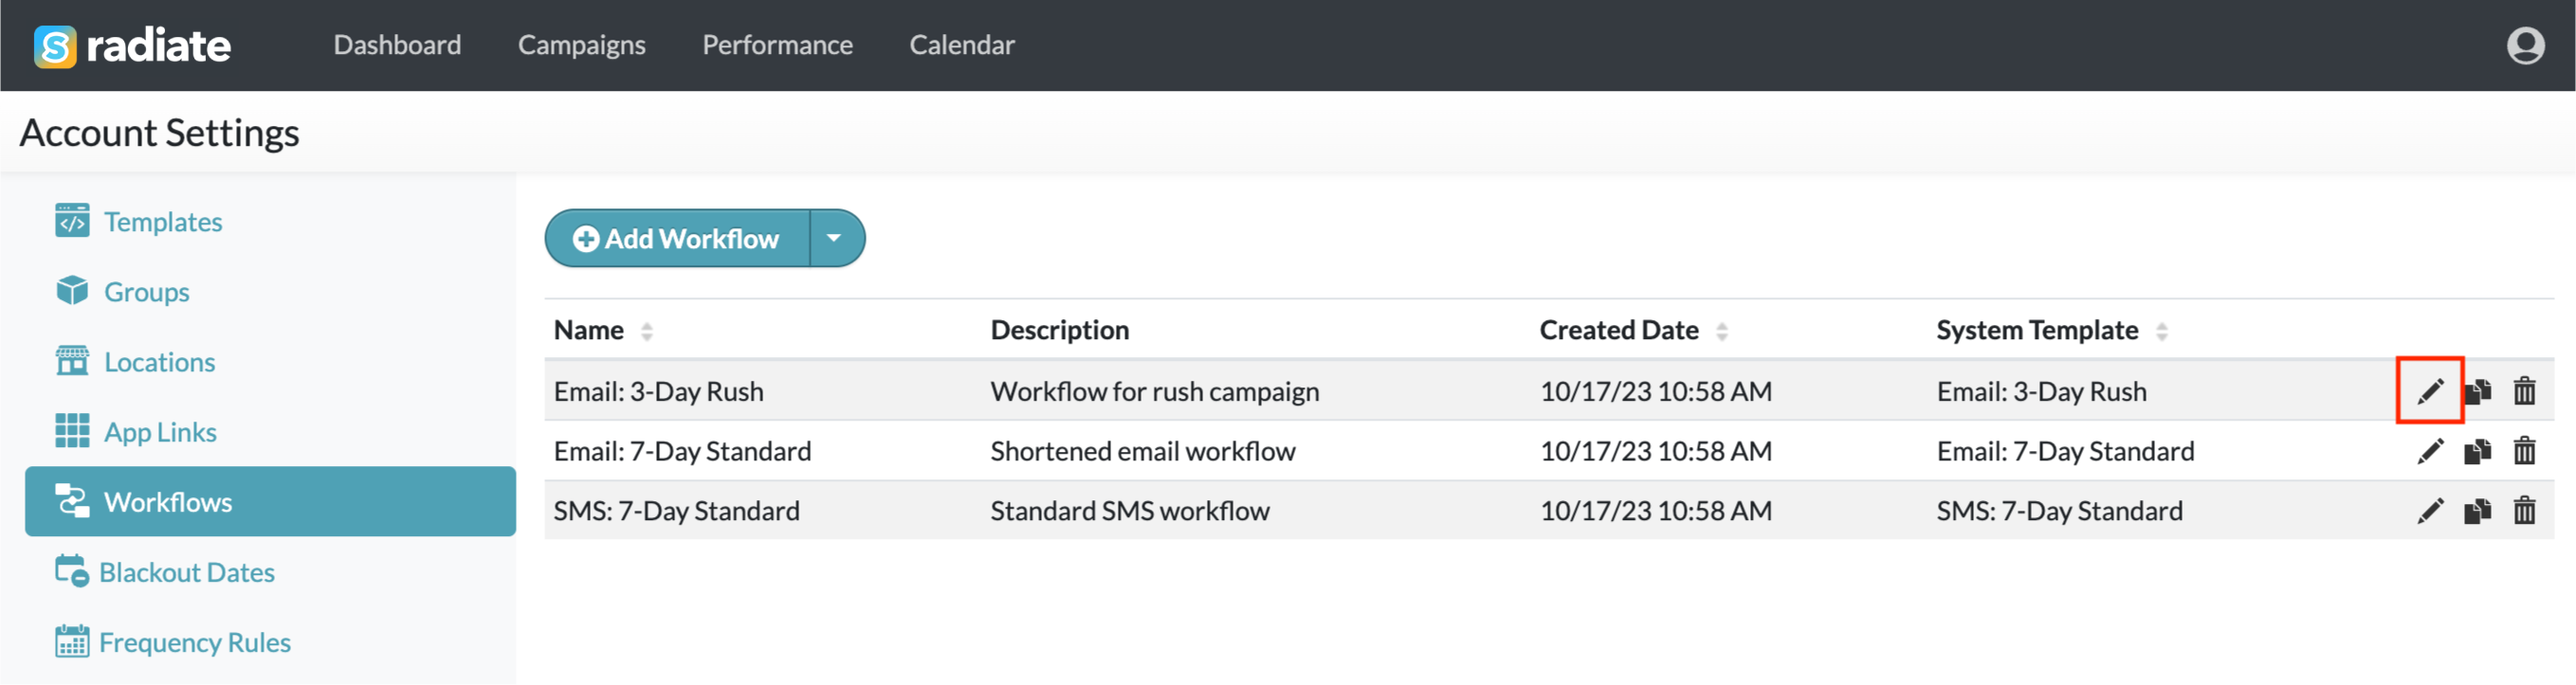
Make any desired edits and then click Save Changes.
Duplicate a Workflow
Click on the copy icon to duplicate an existing Workflow.
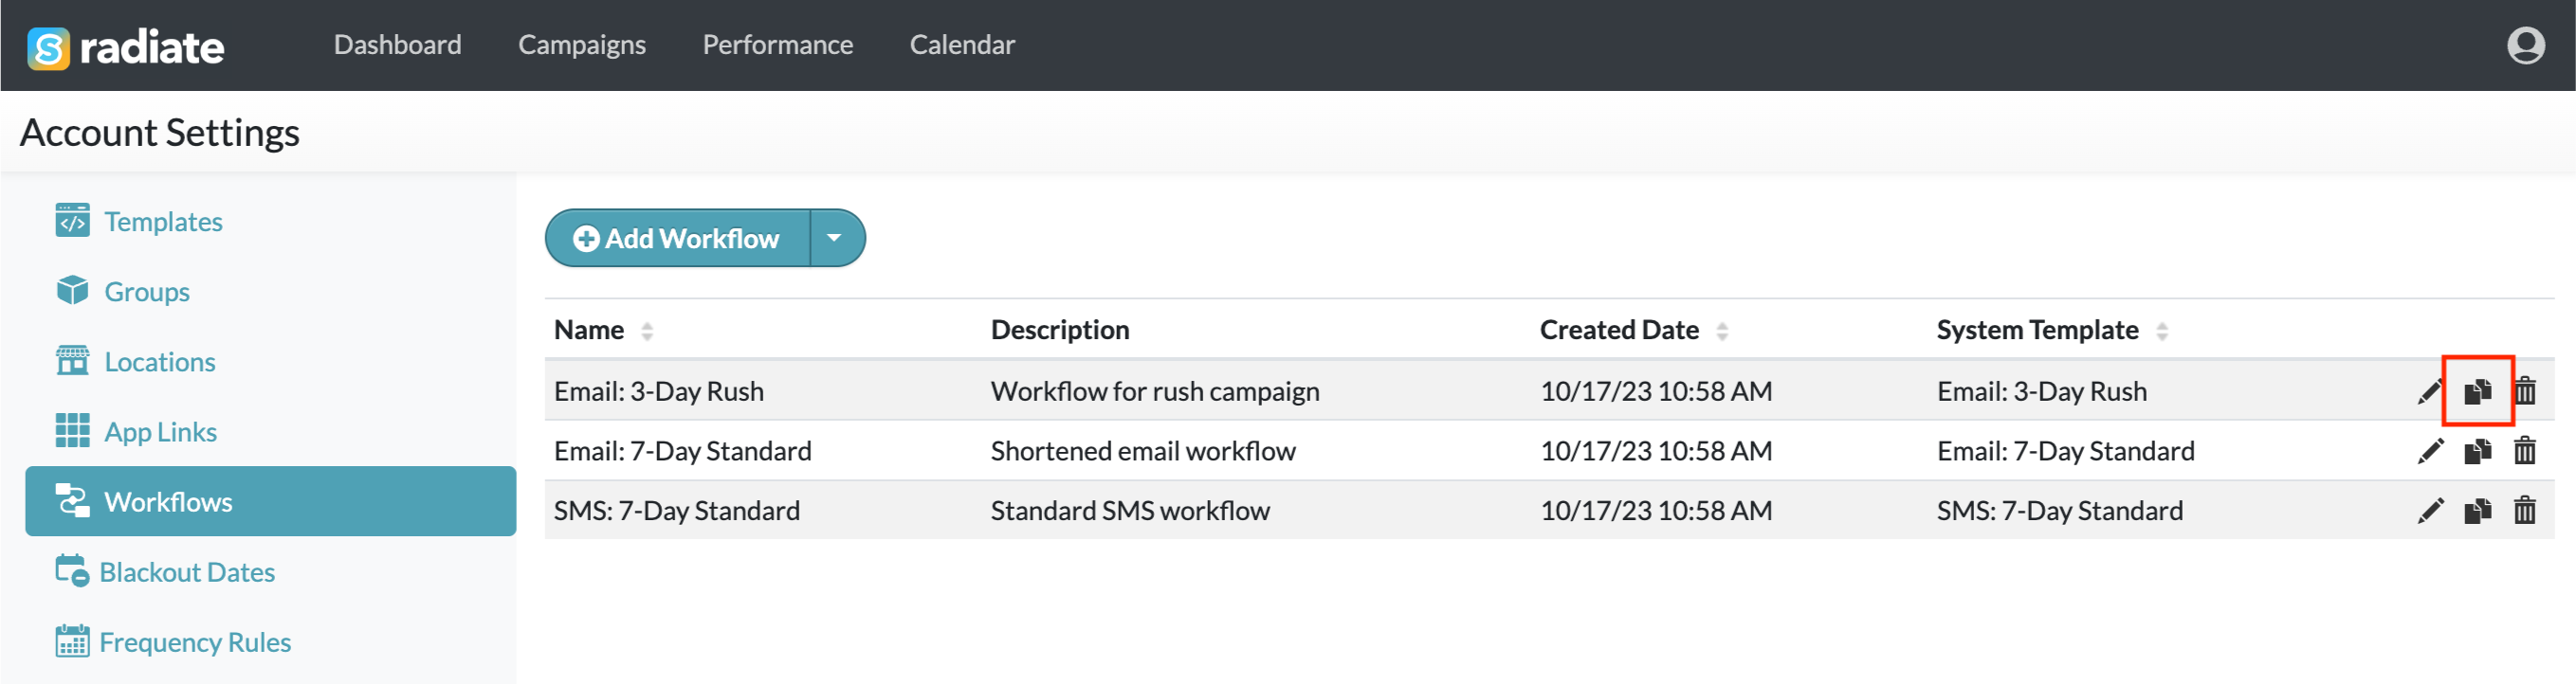
Make any desired edits and then click Save Changes.
Delete a Workflow
Click on the trash can icon to delete an existing Workflow.
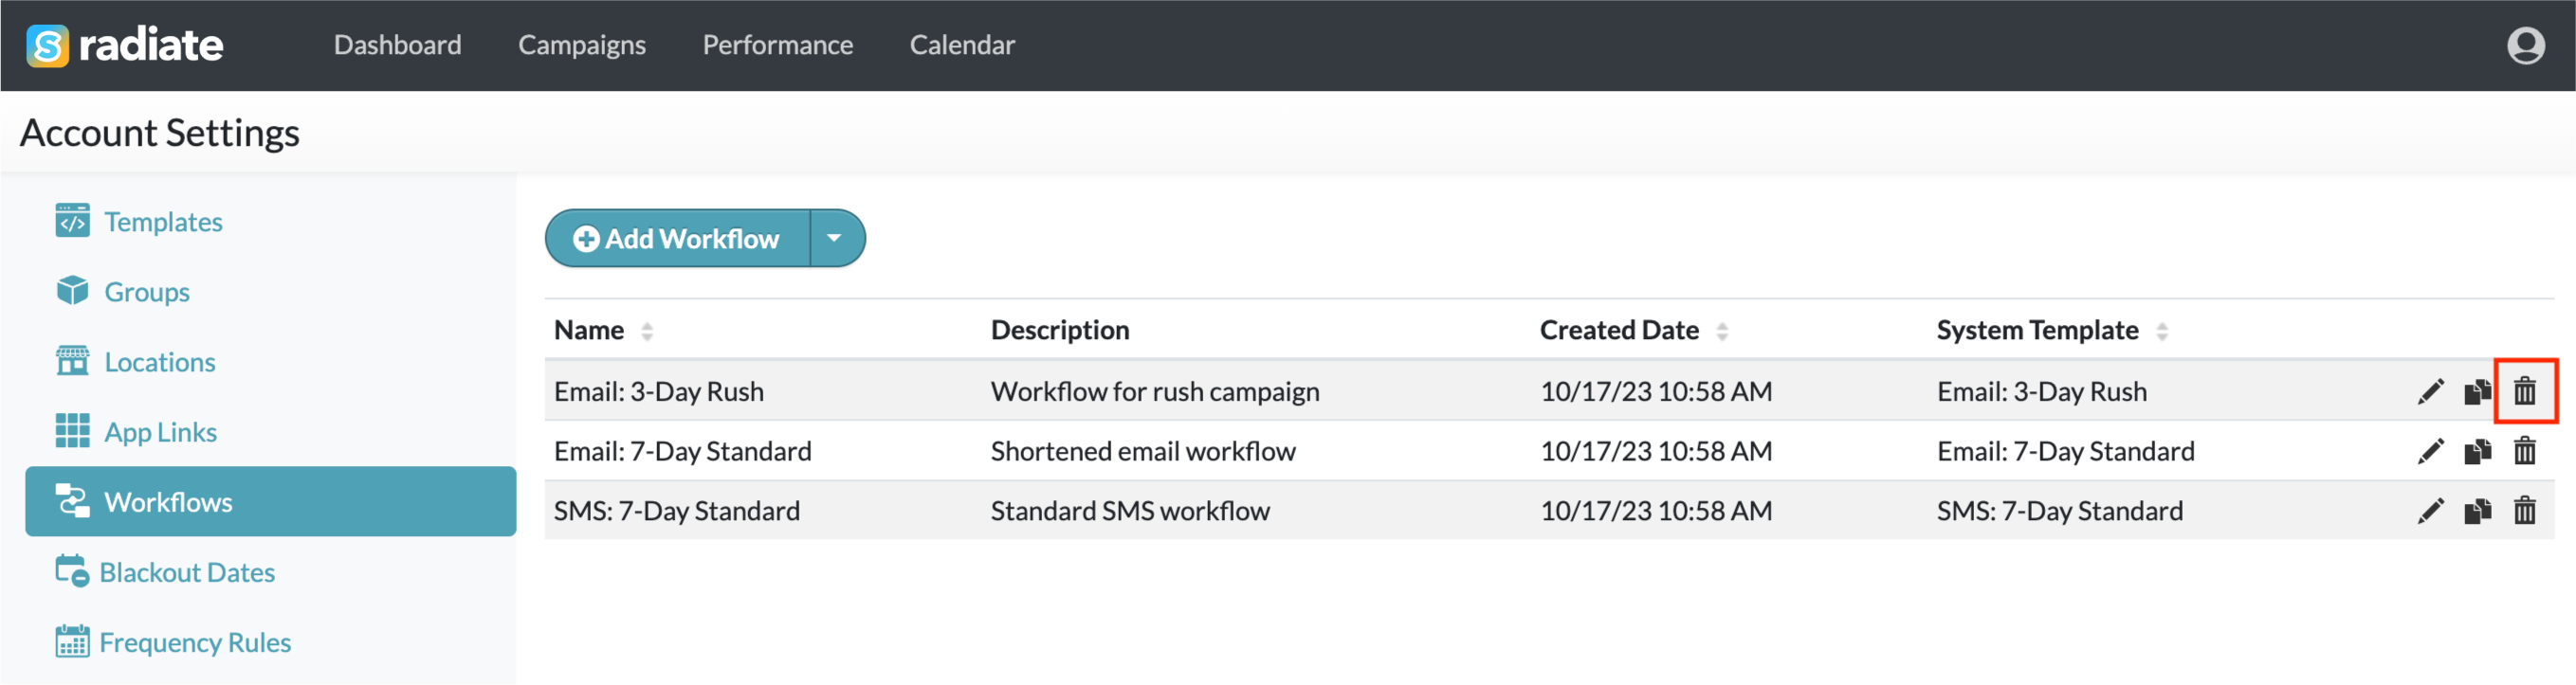
Click the blue Delete button in the Confirm Delete window.